Commercial Truck Upfitting for Trades and Services
Commercial truck upfitting for plumbers, electricians, contractors and service crews — the body, the rack, the lighting and the wiring, planned around the trade before a single part is ordered.

Commercial Truck Upfitting for Trades and Services at a glance
- Service body fitted and wired
- $4,500–$14,000
- Shelving and drawer units
- $600–$3,000
- Ladder rack or pipe carrier
- $700–$2,600
- Work lighting and beacon package
- $450–$2,200
What commercial truck upfitting is
Commercial upfitting is the work of turning a stock truck into a vehicle for a specific trade. A plumber, an electrician and a general contractor can start from the same chassis and end up with three completely different trucks, because the upfit follows the job rather than the badge. The point is to make the truck a tool: everything the crew reaches for in a day should be where the day expects it to be, and nothing should rattle loose on the way to a site.
- The body or bed arrangement the trade needs
- Storage: bins, drawers, shelves and cabinets
- A rack, a ladder carrier or a pipe carrier
- Work lighting, beacons and cab controls

What a commercial build covers
A full commercial upfit is a set of systems rather than one part, and the pieces have to be planned together so they support each other. Order them one at a time and the truck fills up with hardware that fights for the same space, which is how a build ends up heavier and less useful than it should be.
- Service bodies, open and enclosed, in the right payload class
- Shelving, bins and drawer units laid out around the work
- Ladder racks, pipe carriers and material handling
- Work lights, light bars, beacons and strobes
- Inverters, compressors and auxiliary power
- Branding and decals applied after the build is square
How a commercial upfit runs
Every commercial build runs the same sequence, because a body mounted before the plan is settled is a body mounted twice.
-
Sit with the crew and learn how the truck is used in a day.
-
Check the body and gear weights against the payload limit.
-
Lay out the bins, rack and lighting on a plan first.
-
Order the body and hardware to match the approved plan.
-
Mount the body onto the chassis and set it square to the rails.
-
Wire the lights, the inverter and any compressor.
-
Review the finished build with the crew before handover.
Working to the chassis
A commercial upfit lives or dies by what the chassis can safely carry, so the truck sets the limits of the plan. A light truck with a heavy body, a full tool load and a rack of pipe can pass its payload rating before the driver is seated, which turns a work truck into a liability. We weigh the build against the truck's gross weight and payload, and choose the class of body from that arithmetic rather than from a brochure photograph.
- Ford F-250 and F-350 for heavier service bodies
- Silverado 2500 and 3500 with GMC Sierra twins
- RAM 2500 and 3500 for trade and utility work
- Ford Transit and RAM ProMaster for cargo and delivery
- Toyota Tundra where a lighter build still works
- Chassis cabs where a pickup bed gets in the way
What commercial upfitting costs
A commercial upfit is priced across the body, the storage, the rack, the lighting and the wiring, and the labour to bring them together. The figure varies with the payload class, the option set and whether the truck needs a bed removed. The build total firms up once the layout is drawn.
- Service body fitted and wired
- $4,500–$14,000
- Shelving and drawer units
- $600–$3,000
- Ladder rack or pipe carrier
- $700–$2,600
- Work lighting and beacon package
- $450–$2,200
- Inverter, compressor and aux wiring
- $600–$3,200
Layout decided by the trade
The best commercial upfit starts with a walk through a normal workday. Which tool comes out first on a call, which drawer stays shut until the job is nearly done, and whether the crew loads from a side door or the back all shape where things go. Getting the layout right up front saves a rebuild later, because a truck whose bins are in the wrong order slows the crew down every single day it is in service.
Payload, not appearance, picks the body
The most expensive commercial mistake is a body chosen for how it looks rather than for what the truck can carry. The body, the shelving, a loaded rack and a compressor all draw from the same payload allowance, and a light truck runs out of it quickly. We run the numbers before the order so the build suits the chassis, and we say plainly when a truck is too light for the body a customer had in mind.
Power and lighting planned as one
Work lights, beacons, an inverter and a compressor all pull on the truck's electrical system, and each deserves its own fused feed rather than a line tapped off the nearest harness. We size the alternator and the cabling to the real load, because a truck that browns out under its own lighting is a truck that failed in its first week. Planning the electrical side with the body keeps the build dependable.
Branding applied last
Decals and branding go on after the body is mounted and squared, never before, because a door hung slightly off ruins a carefully placed graphic. Applying the branding last also lets the layout settle and any last adjustment be made without wasting a set of decals. It is a small sequencing habit that keeps a finished truck looking as considered as it is built.
Confirming the build before ordering
A commercial upfit costs enough that the plan deserves confirming before anything is ordered, so settle the truck, the trade and the load first. Send the chassis, the payload and how the crew works, and we will sketch a layout against your real numbers rather than a generic template that ignores the way your business actually operates.
The other upfit programs
Fleet runs, commercial builds and service bodies.
-
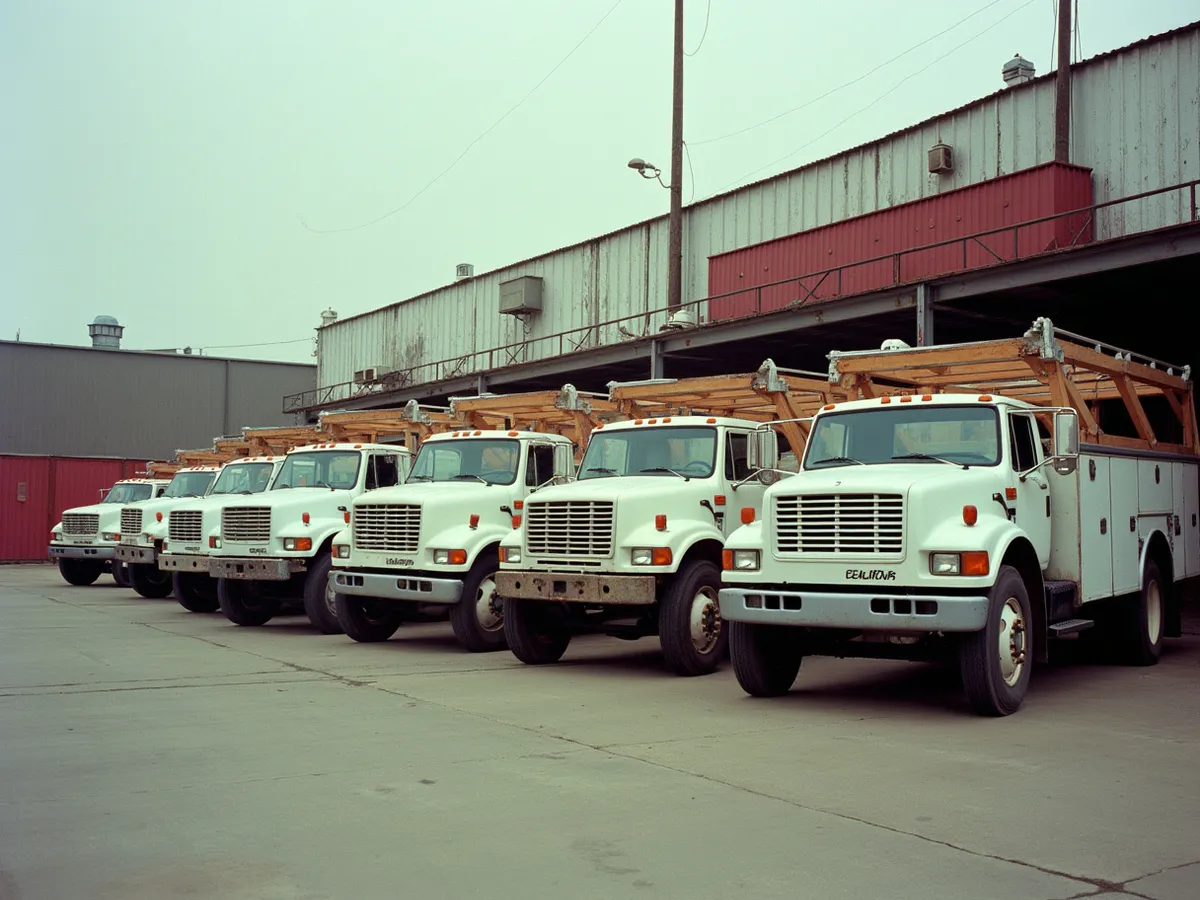
Fleet Upfitting Programs for Multi-Truck Operations
Fleet upfitting programs that lock one layout and reproduce it across every unit, so drivers moving between trucks find the same gear in the same places.
-
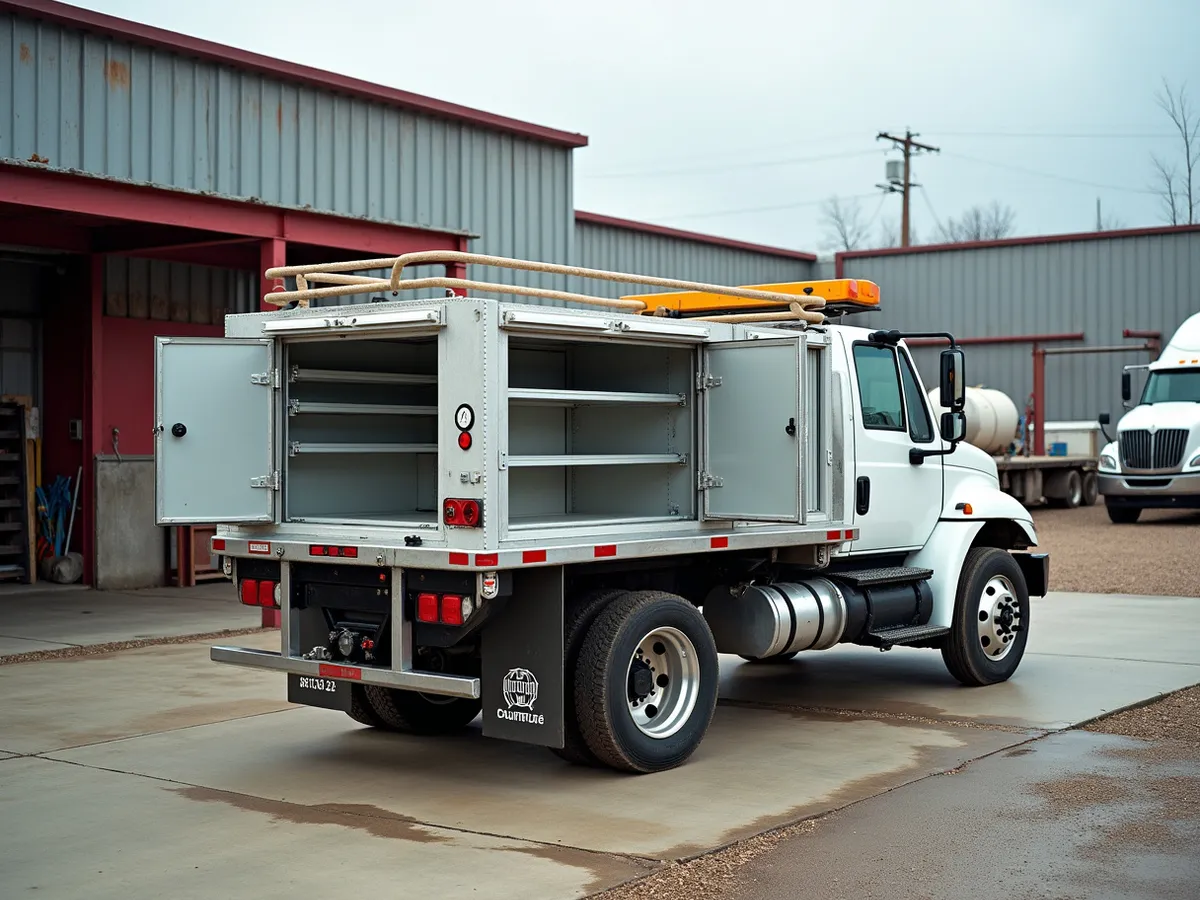
Work Truck and Service Body Upfit
Work-truck and service-body upfit that mounts a body, bins, a rack and the wiring to the chassis, planned around how a crew loads and unloads every day.


The towing and recovery areas
The hitch, towing and winch work behind it.
-
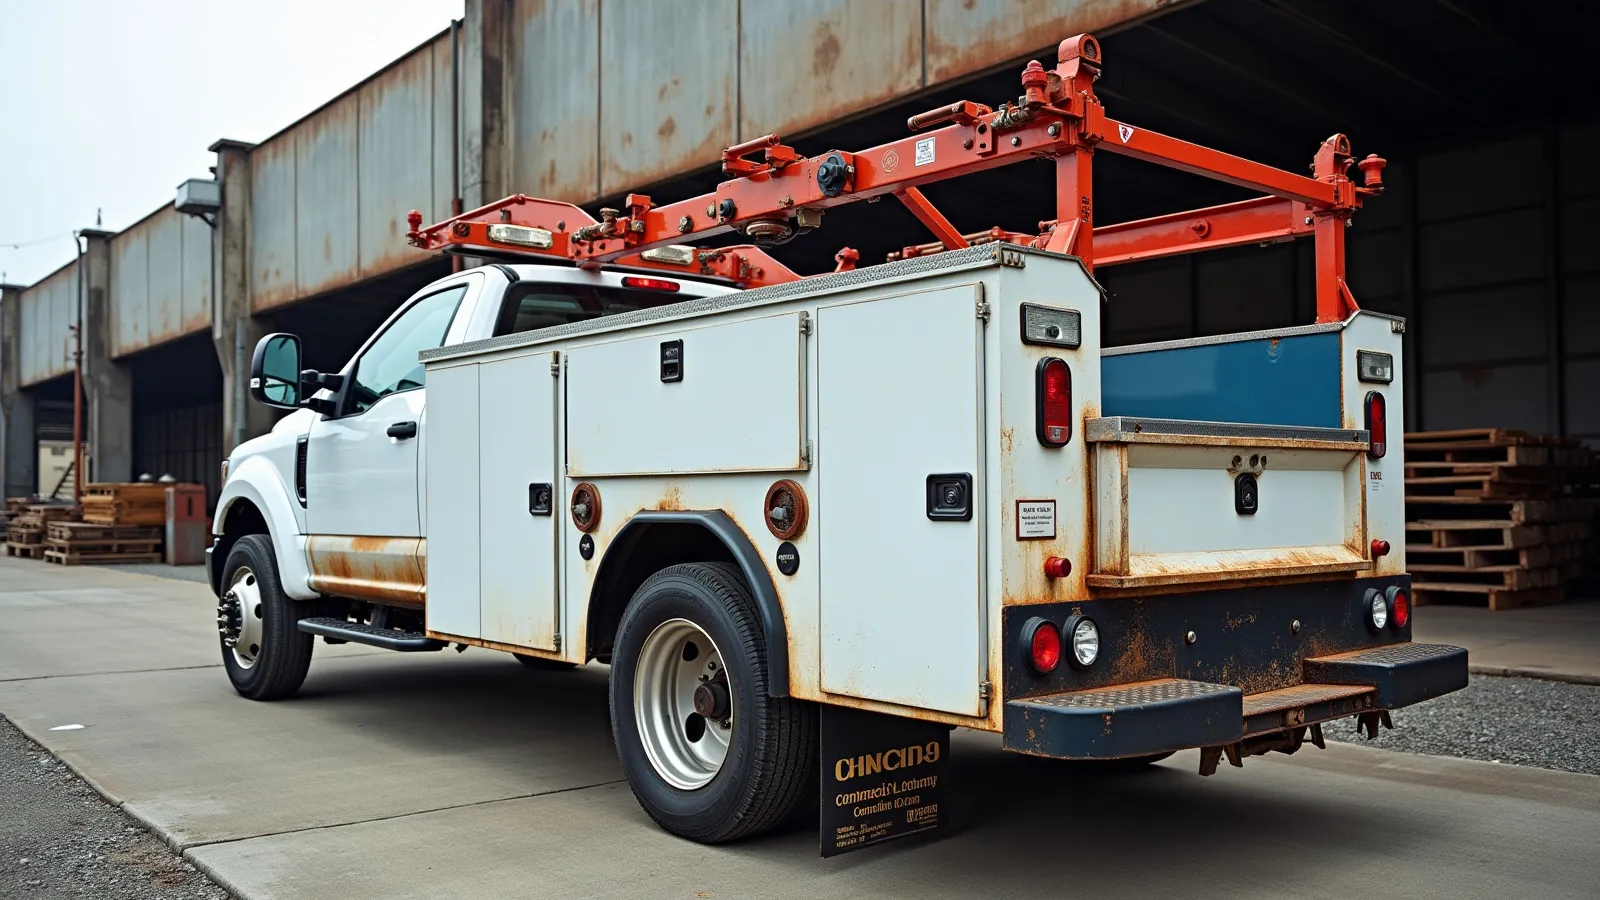
Commercial and Fleet Truck Upfitting
Commercial and fleet truck upfitting that turns a bare chassis into a working vehicle — service bodies, racks, bins, lighting and the wiring that ties them together.
-
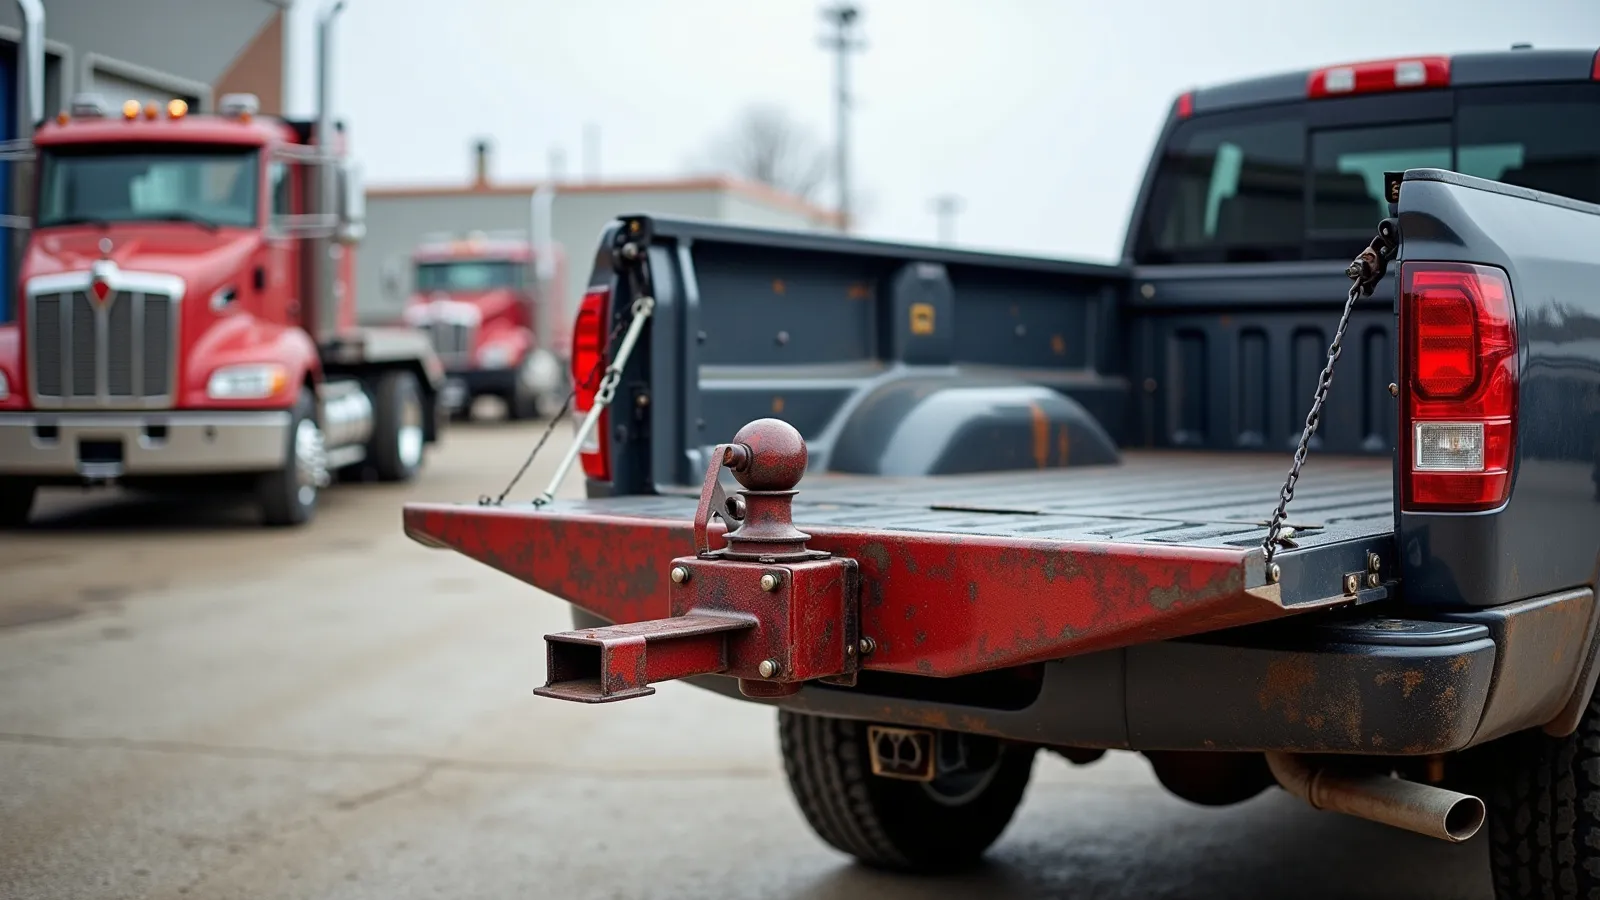
Gooseneck, Fifth-Wheel and Receiver Hitches
Gooseneck, fifth-wheel and receiver hitches for trucks that pull — chosen by class and application, not by the shape of the receiver alone, because the truck and the trailer set the real limit together.
-
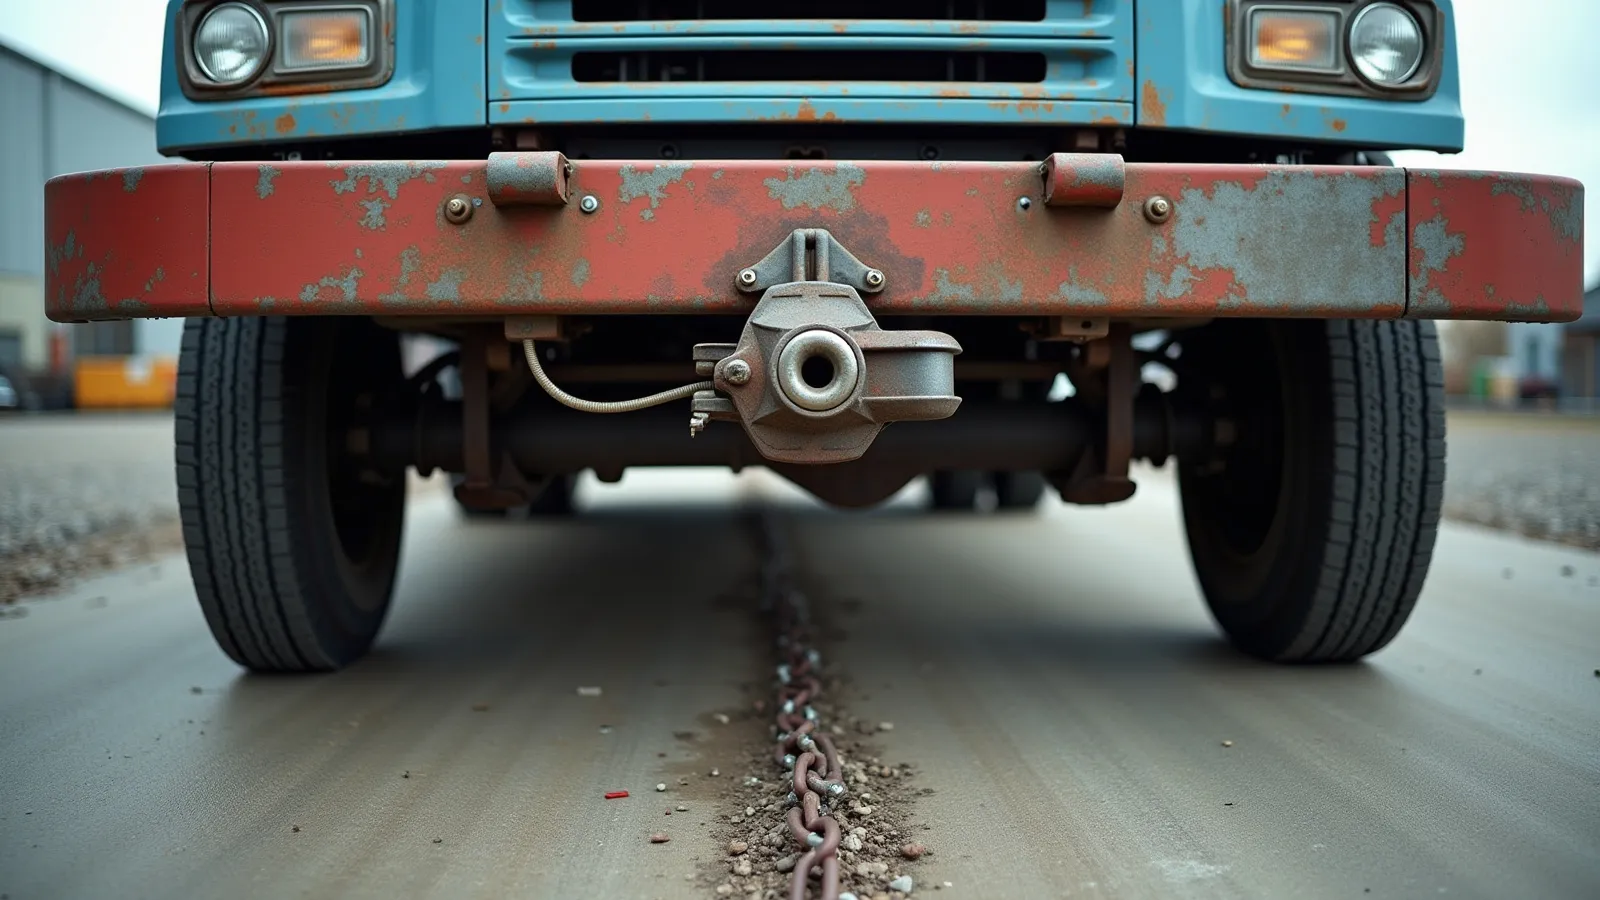
Off-Road Towing Hitches, Tow Bars and Couplers
Receiver hitches, off-road tow bars and trailer couplers sized to the truck and the trailer it pulls, with the ratings checked before a class or a coupler is chosen.
-
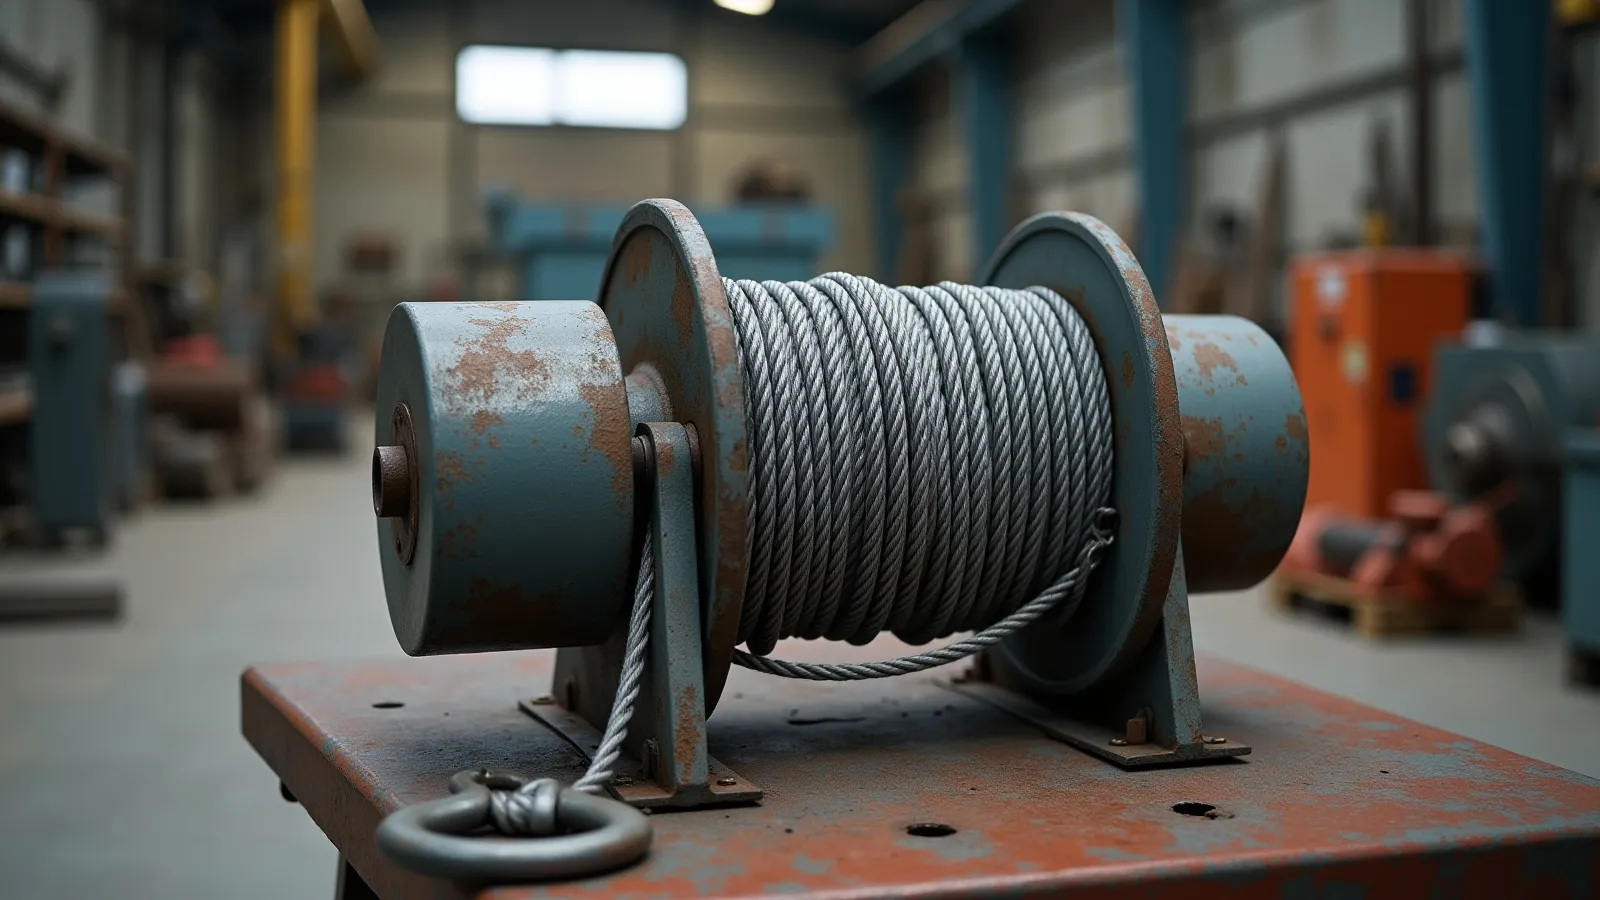
Winches, Control Boxes and Recovery Gear
Winches, control boxes and recovery gear fitted and wired to pull a stuck truck out safely, matched to the truck's weight and the pull it will actually make.


The hardware that goes on
Hitches, balls and recovery gear, priced as ranges.
-
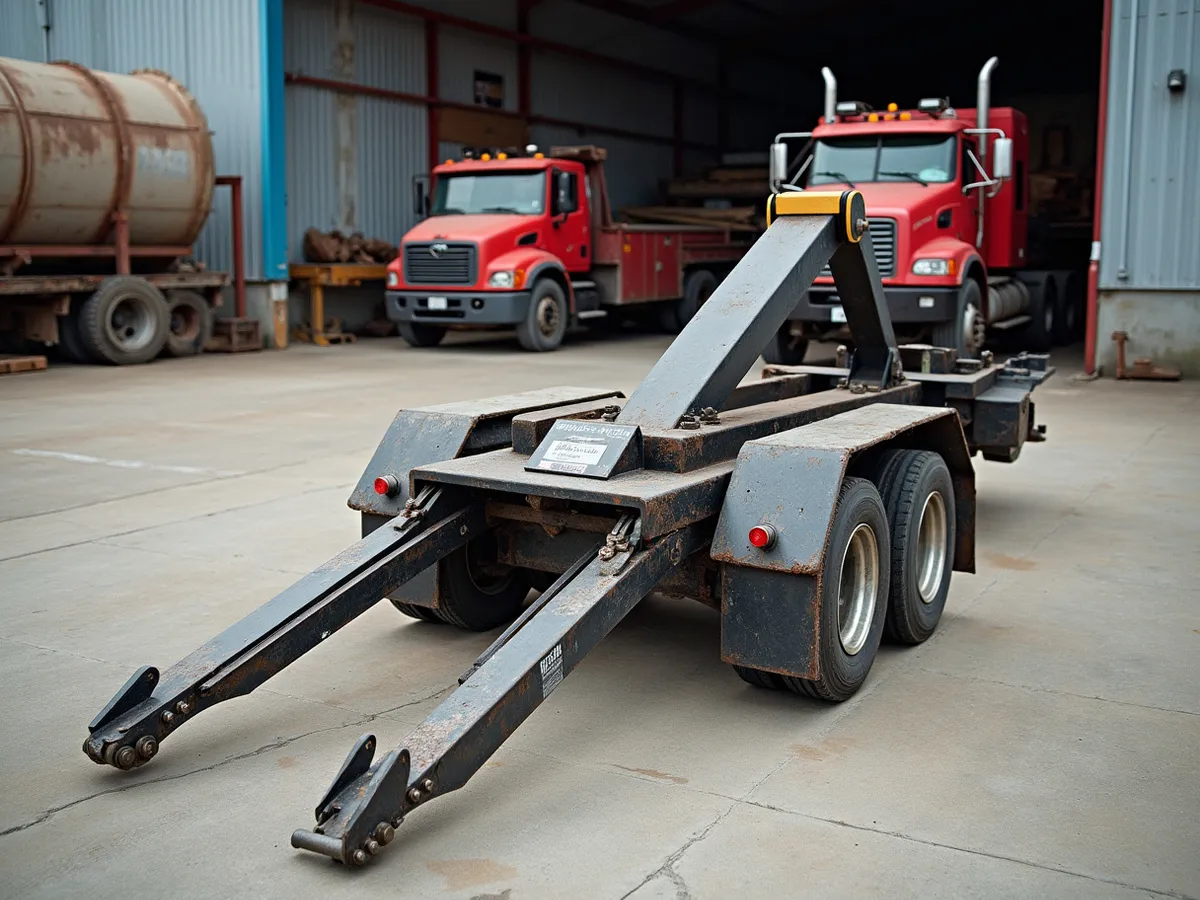
Rambler-Style Tow Bar
A folding tow bar for flat-towing a light 4x4 or car behind a motorhome, chosen by the towed vehicle's weight and the mounting points it can take.
$280–$700 varies by truck, capacity and install
-
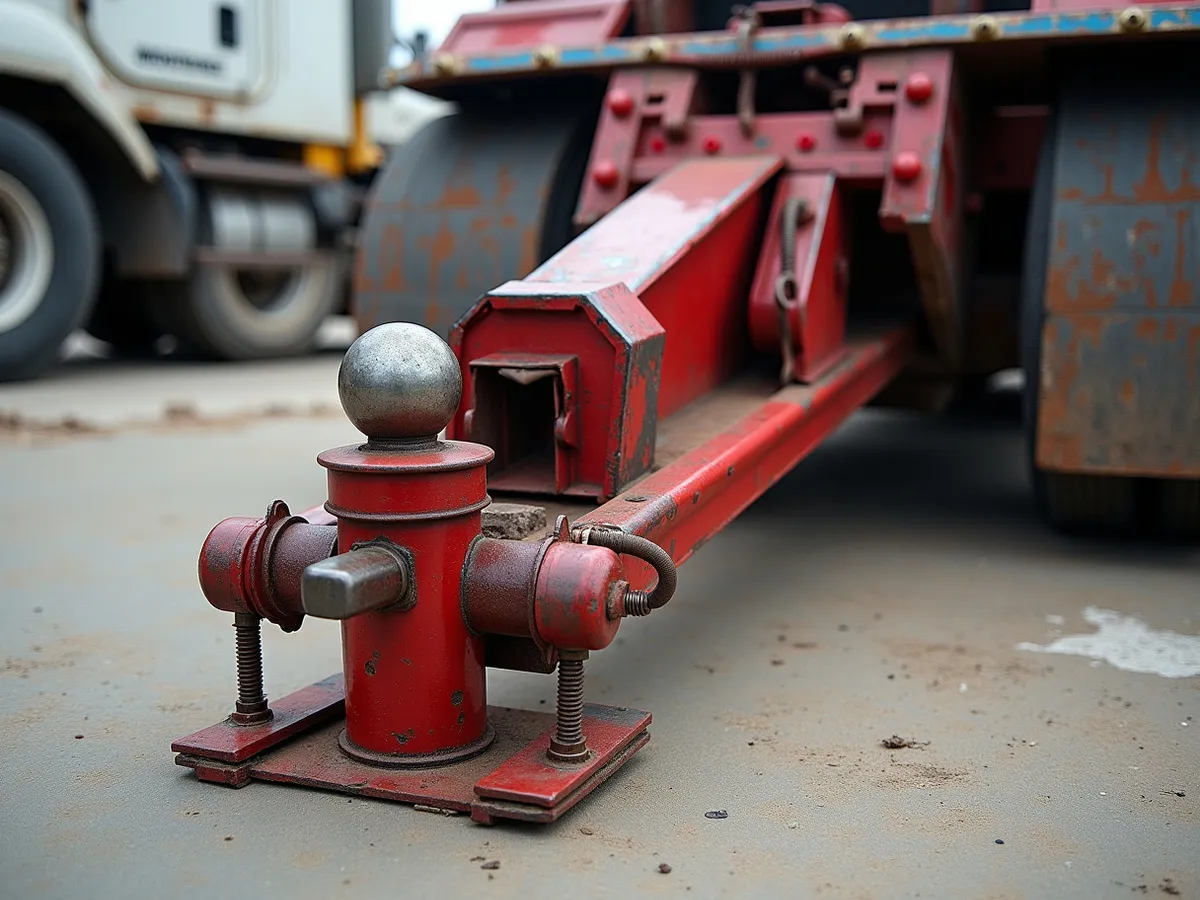
Curt Spyder Gooseneck
An under-bed gooseneck hitch system for heavy trailers, with a ball that stows flat so the bed stays usable when the trailer is unhitched.
$450–$1,300 varies by truck, capacity and install
-
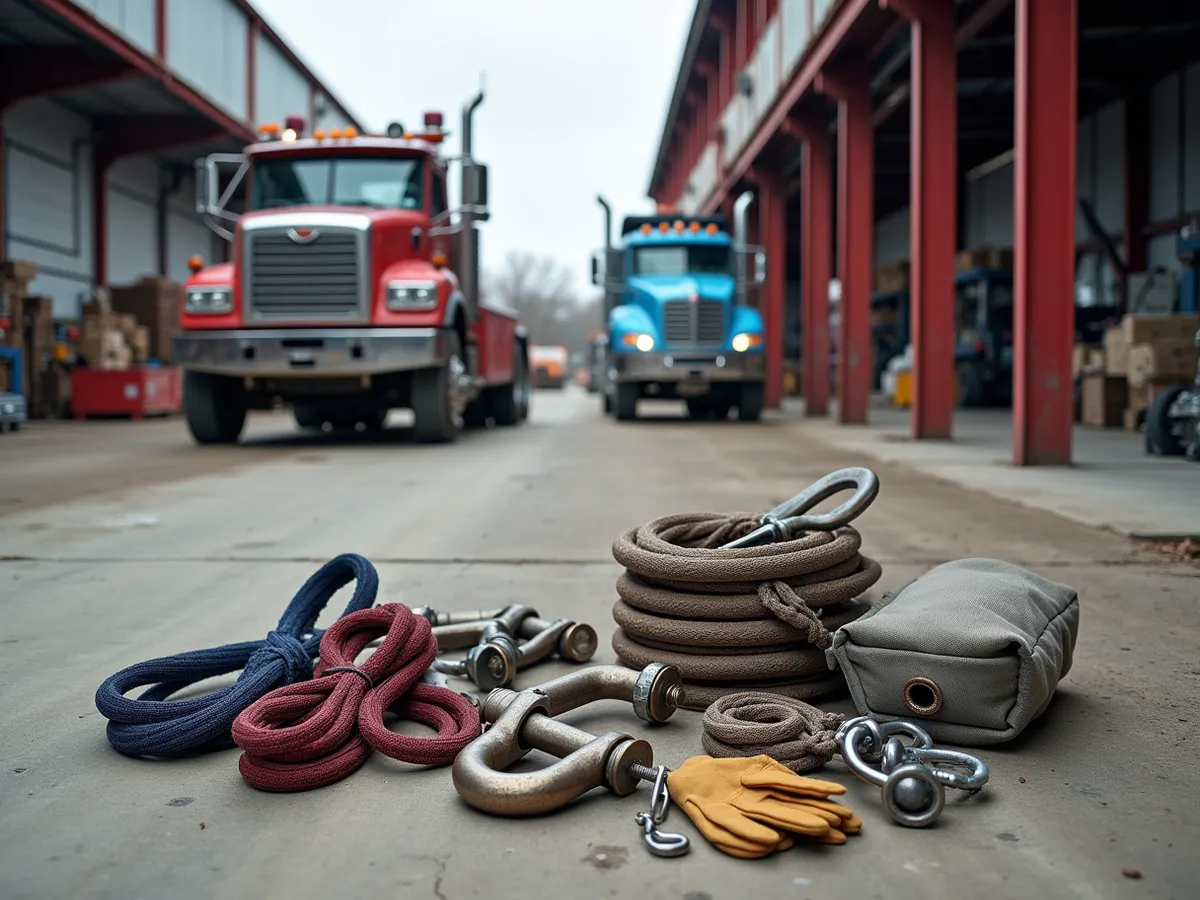
Factor 55 Recovery Gear
Recovery hardware that keeps a winch pull safe — closed-system shackles, straps and rigging chosen by the truck's weight and the recovery it will do.
$90–$260 varies by truck, capacity and install
-
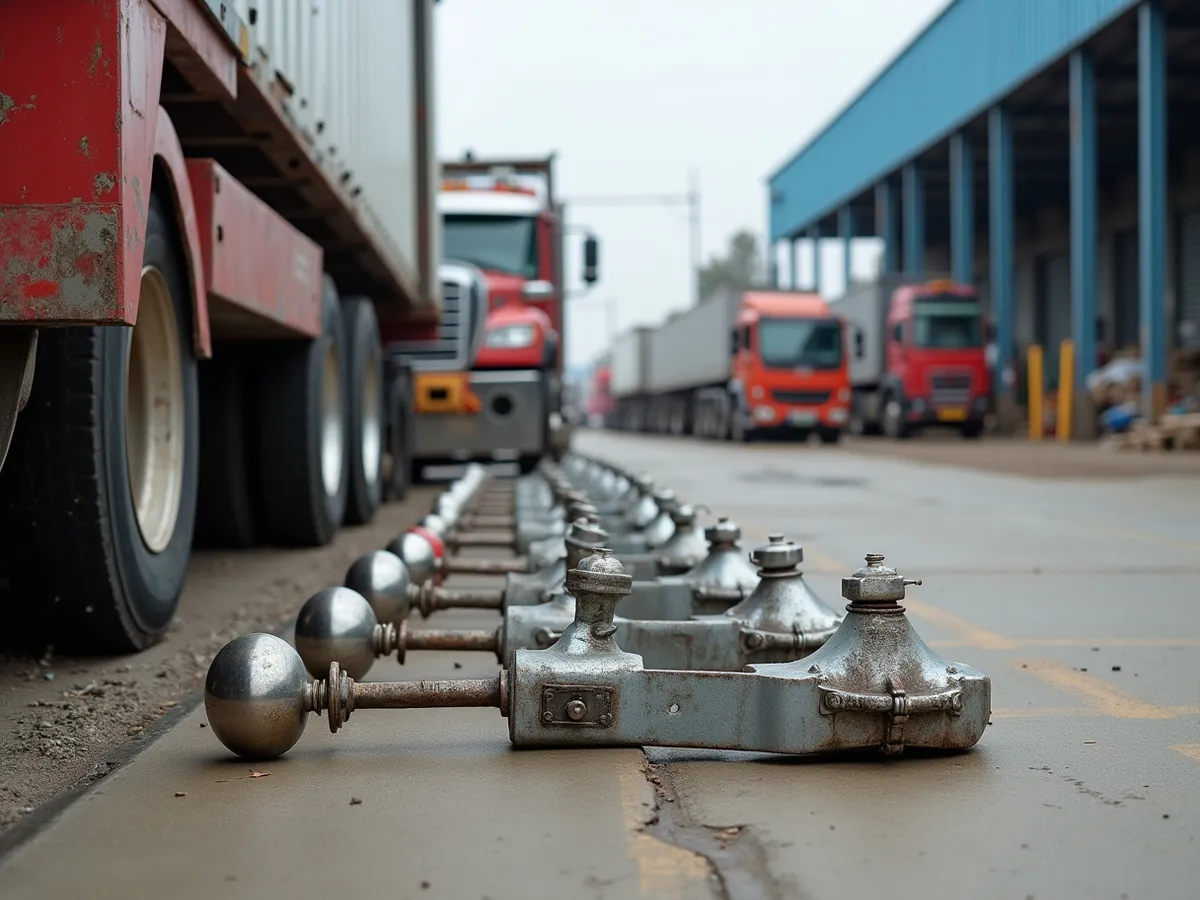
Gooseneck Ball Size
A guide to gooseneck ball sizes and how to match the ball to the trailer's coupler, because the wrong size looks shut but lets go under a bump.
$40–$140 varies by truck, capacity and install
-

Gooseneck Trailer Ball Size
How to read a gooseneck trailer's ball requirement from the trailer side — coupler markings, trailer weight and the ball rating that has to carry the pin load.
$60–$220 varies by truck, capacity and install
-
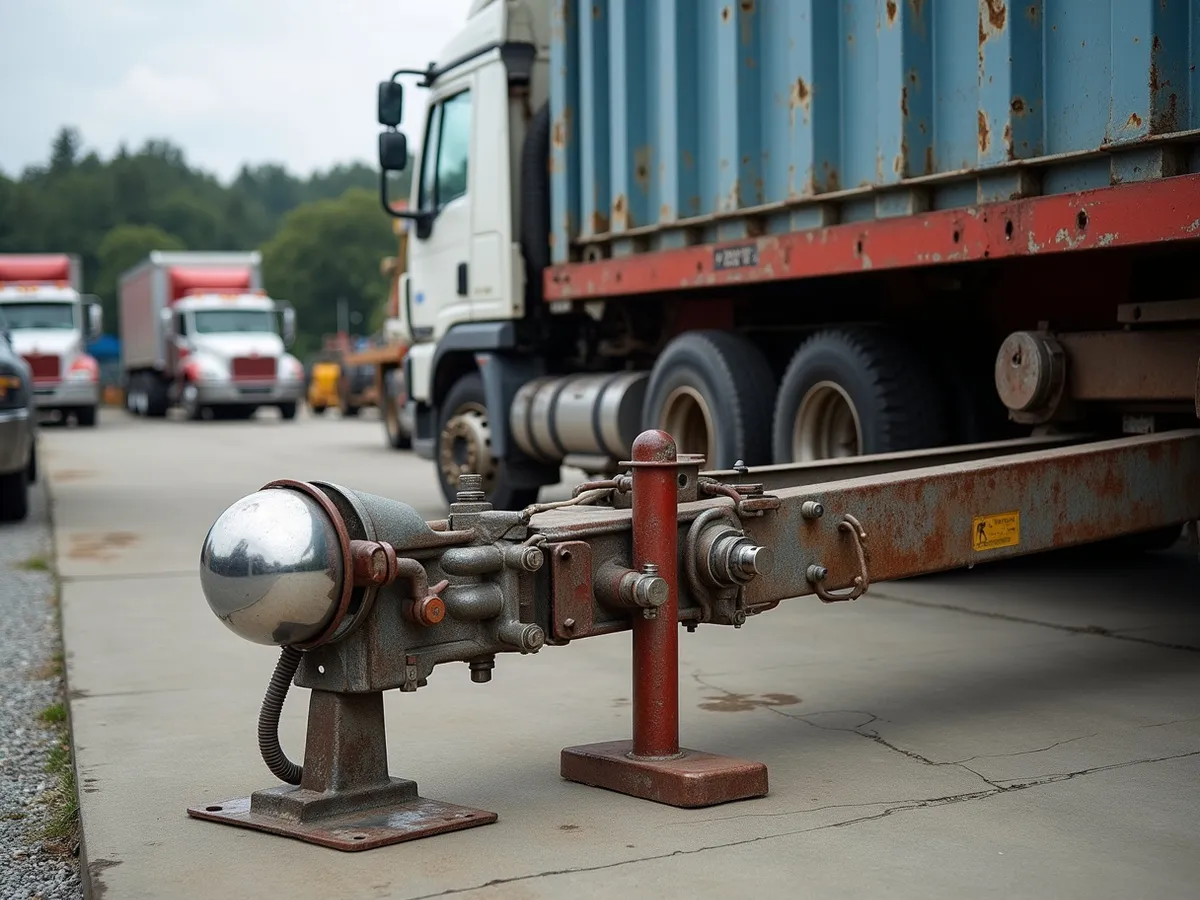
Off-Road Trailer Coupler
A heavy-duty trailer coupler built for rough ground, chosen by the ball size, the trailer's weight and the latch that has to stay shut over rough trails.
$140–$420 varies by truck, capacity and install
-
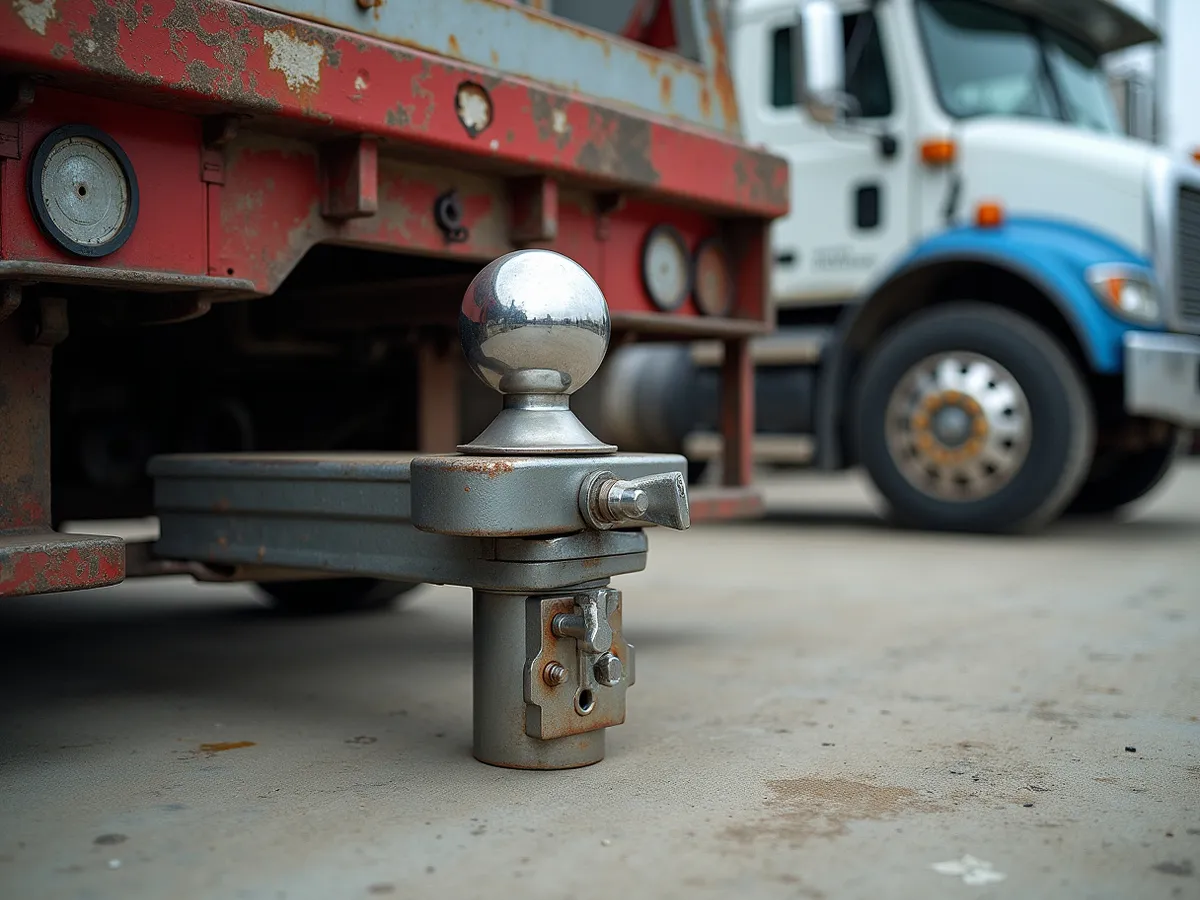
Standard Gooseneck Ball Size
The standard gooseneck ball size explained — what counts as the common size, what it fits, and why a standard ball still has to be checked against the truck's rating.
$40–$140 varies by truck, capacity and install
-
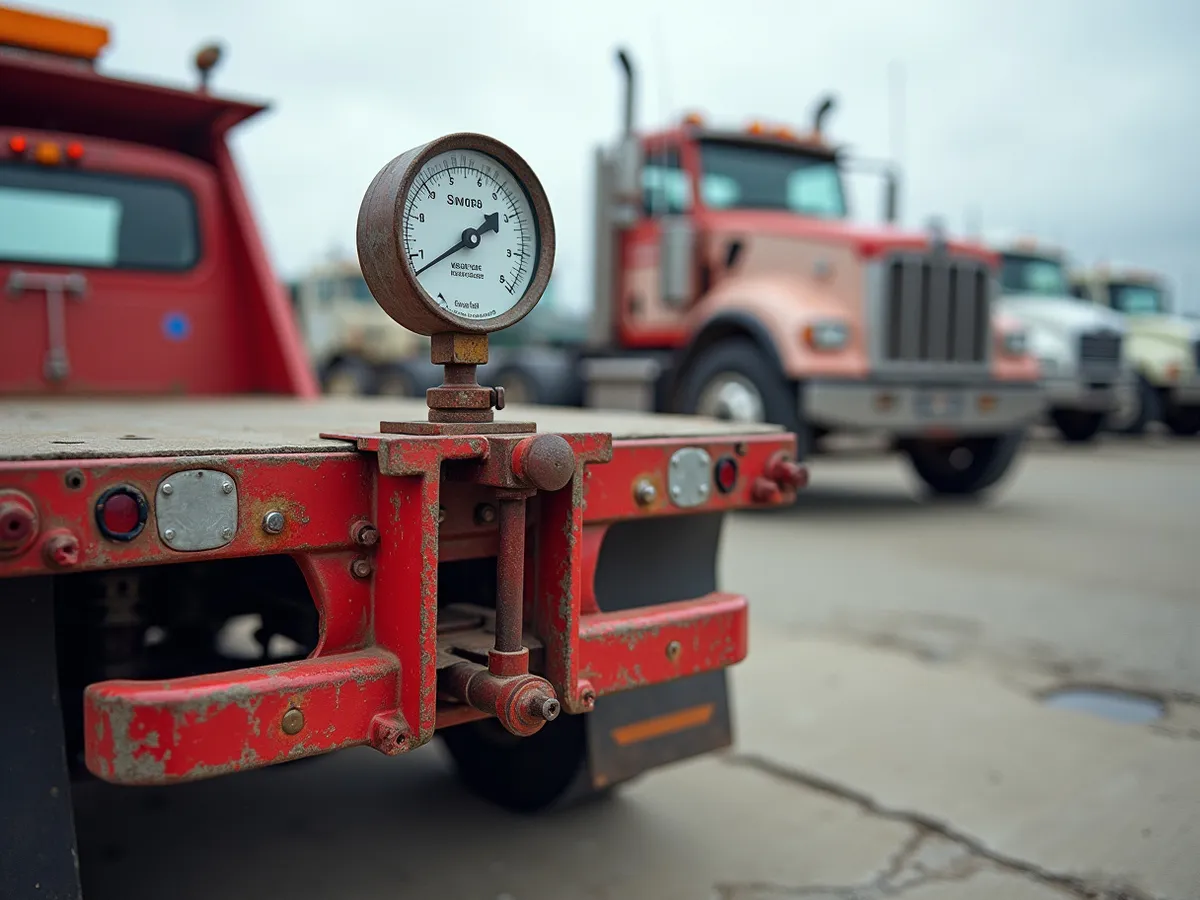
Weigh-Safe Gooseneck Ball
A gooseneck ball with a built-in tongue-weight gauge, so you can see the pin load on the ball before you tow rather than guess at it from a chart.
$280–$620 varies by truck, capacity and install


How-to and cost guides
Plain answers before you commit to a job.
-
How to Mount a Gooseneck Hitch
Mounting a gooseneck hitch means cutting an opening in the bed floor over the rear axle, fitting reinforcement below the bed to the frame rails, and setting a ball and its mechanism so the trailer pivots over the strongest part of the truck.
-
Tow Ratings and Capacities Explained
A tow rating is a set of limits that all apply at once, and the one you can actually use is the lowest of them.
-
Winch Recovery Basics
A winch recovery is a controlled pull with a strong line and a rated anchor, done slowly enough that nothing breaks and nobody stands in the path.
From the yard


Questions about an upfit
What does commercial upfitting include?
It covers the body or bed arrangement, the storage such as bins and drawers, a rack or ladder carrier, the work lighting and the wiring that ties it all to the chassis. Everything is laid out as one system, because parts ordered separately end up fighting for the same space.
How do you decide which body my truck can take?
By running the payload numbers first. The body, the shelving, a loaded rack and a compressor all draw from the same payload allowance, and a light truck runs out quickly. We weigh the planned build against the truck's gross weight and payload and pick the class from that.
Can you work with my trade's specific tools?
That is the point of the walk-through. We sit with the crew and learn which tool comes out first, which drawer stays shut until the end and whether you load from the side or the back. The layout follows the workday, which is what keeps the truck from needing a rebuild later.
Do you handle the electrical work as well?
Yes, and it is where shortcuts show. Work lights, beacons, an inverter and a compressor each need their own fused feed. We size the alternator and the cabling to the real load, so the truck does not brown out under its own lighting on a job.
When do the decals and branding go on?
Last, after the body is mounted and squared. A door hung slightly off can ruin a carefully placed graphic, so applying the branding last lets the build settle and any final adjustment happen without wasting a set of decals.
Will the upfit overload my truck?
Not if we plan it properly, which is why we run the payload numbers first. A build that ignores them can pass the rating before the driver is seated. We choose the class of body from the truck's real limits and tell you plainly when a lighter body is the right call.
How long does a commercial build take?
Lead time swings with the body class and the parts pipeline, so every figure has to be a range. A drawer and lighting package moves faster than a full body with a crane. Once the plan and the parts are locked we hand you a written window before the truck goes on the hoist.
What does a commercial upfit cost?
A service body fitted and wired runs from about $4,500 to $14,000, with shelving, a rack, a lighting package and an inverter each adding more. The figure varies with the payload class and the option set, so every number is a range.
Why Valley fleets are upfit here
- Ratings confirmed against your truck and trailer before anything is quoted.
- A written estimate that separates the hardware, the mount and the labour.
- Winch, recovery and upfit hardware fitted and wired, never just sold.
- Prices shown as ranges that vary, never as a made-up fixed number.
Request a fitment check
Tell us the fleet or the truck and how it works.